

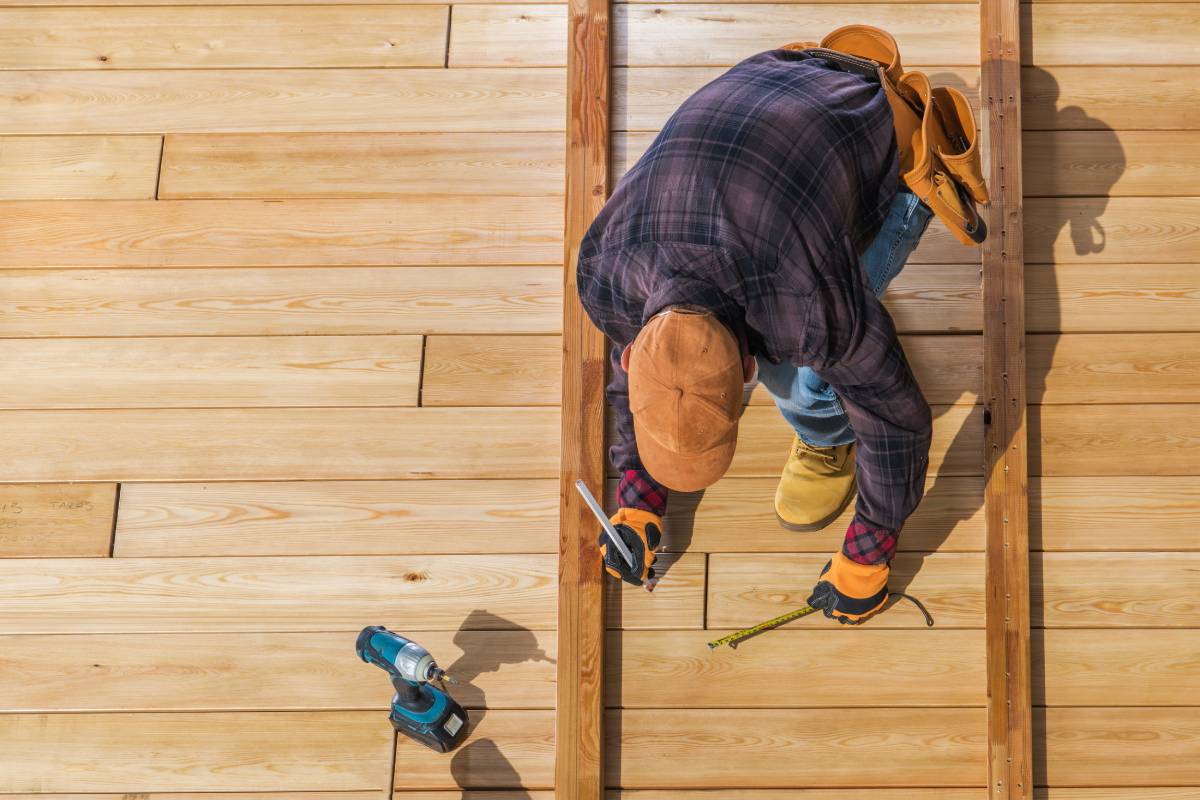
Looking out your back window at a faded and grey timber deck can be incredibly frustrating. The harsh Australian sun takes a massive toll on outdoor entertainment areas.
A neglected deck looks terrible and poses a genuine safety risk to your family. Splintering wood and slippery algae buildup can completely ruin your weekend gatherings and cause painful injuries.
You do not need to hire an expensive professional to bring your timber back to life. Following our deck restoration step by step guide will help you achieve a stunning and professional result on your own.
How do you restore a weathered deck?
To successfully restore a timber deck, follow these five essential steps. First, inspect and repair any damaged decking boards. Second, strip away old coatings using a chemical stripper. Third, clean and brighten the wood with oxalic acid. Fourth, sand the surface smooth. Finally, apply a premium-quality oil or stain.
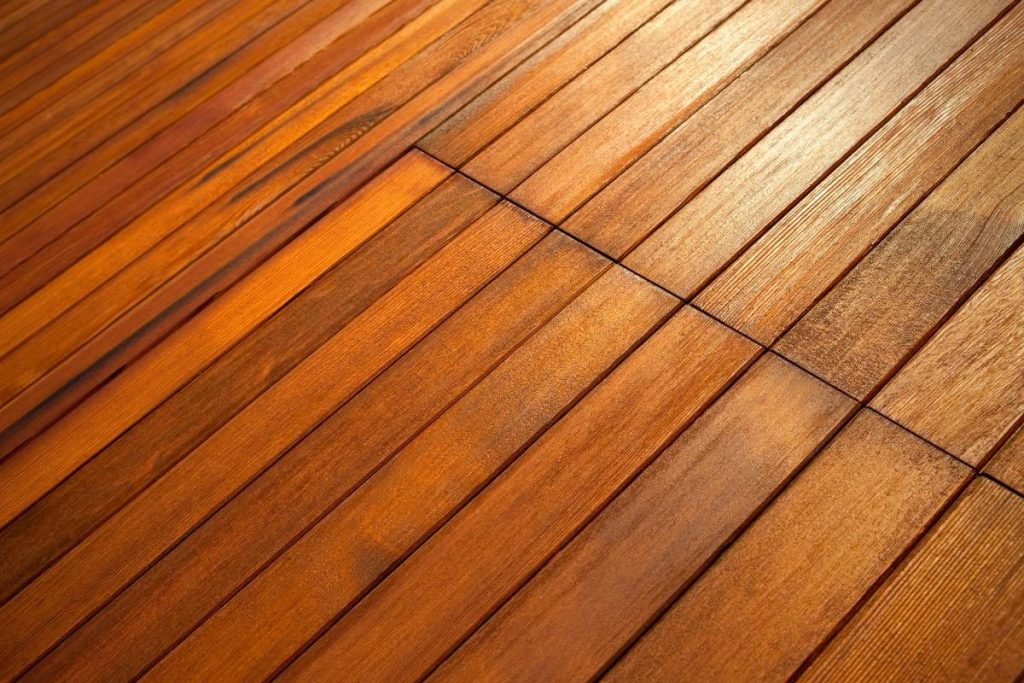
Phase 1: Thorough Inspection and Preparation
Every successful DIY project always starts with proper groundwork. You must completely assess the current state of your timber before applying any chemicals or finishes.
Clear everything off the deck completely. Move the barbecue, outdoor furniture, and all potted plants to a different location in your yard.
Checking for Timber Rot
Walk over every single board and look carefully for signs of structural weakness. Use a screwdriver to gently poke any dark or spongy areas on the timber.
If the wood yields easily to pressure, you have found wood rot. You must replace these specific boards entirely to ensure the structure remains safe and stable for your guests.
If you discover extensive structural damage across the entire framework, contacting experts like Heritage Restorations and Renovations in Sydney is a very smart decision.
Securing Loose Fasteners
Check for any nails or screws sitting above the surface of the wood. These raised fasteners are serious tripping hazards and will instantly destroy your sanding equipment later.
Hammer down any stray nails and tighten all loose screws. Counter sink them slightly below the surface of the timber to prepare for a perfectly smooth finish.
Phase 2: Stripping Away Old Coatings
Applying new deck oil over peeling paint or degraded stain is a massive mistake. The new finish will simply flake off within a few short months.
You must get back to bare timber to ensure your new coating penetrates deeply. This process requires patience and the right chemical treatments.
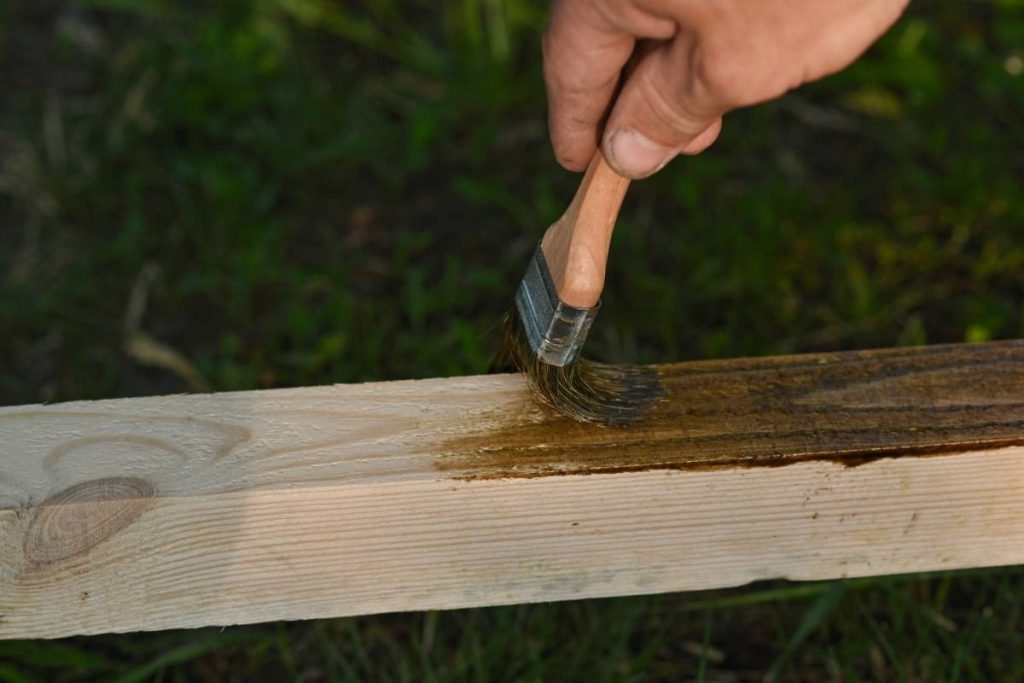
Essential Tools and Materials Checklist
Before you start the chemical process, you need to gather all the necessary supplies. Running to the hardware store halfway through the job will completely ruin your workflow.
Here is exactly what you need to complete your deck restoration efficiently.
- Safety gear: Protective glasses, chemical-resistant gloves, and a high-quality dust mask.
- Cleaning equipment: Stiff-bristle broom, garden hose, and an optional pressure washer.
- Chemicals: Timber stripping gel, oxalic acid deck brightener, and your chosen deck oil.
- Application tools: Paint roller, lambswool applicator pad, and natural bristle brushes.
- Sanding gear: Orbital floor sander, hand sander, and plenty of 80 grit and 120 grit sandpaper.
Using Chemical Deck Strippers
Purchase a premium timber deck stripping chemical from your local hardware store. Apply the product generously across the boards using a stiff-bristle brush.
Allow the chemical to sit for the exact manufacturer specified time. This dwell time lets the active ingredients break down the stubborn old acrylic or oil layers.
Pressure Washing the Residue
Once the stripper has done its job, you need to wash the toxic sludge away. A pressure washer makes this step incredibly efficient.
Keep the pressure nozzle moving continuously across the grain. Focusing the water jet on one single spot will gouge the soft timber and create permanent damage.
Phase 3: Cleaning and Brightening the Timber
This is the crucial secret step that most beginners entirely skip. Chemical stripping leaves the wood highly alkaline and significantly darkens the natural timber grain.
You must neutralize the wood and restore its natural vibrant colour before sealing it. Skipping this step will result in a muddy and dark final finish.
Applying Oxalic Acid Deck Brightener
Mix a commercial deck brightener containing oxalic acid with water in a standard garden sprayer. Spray the solution evenly across the completely wet deck.
You will see an immediate chemical reaction as the grey and blackened timber visibly lightens. Scrub the solution deep into the grain with your stiff bristle broom.
Let the acid sit for fifteen minutes before rinsing the entire area thoroughly with a garden hose. Allow the deck to dry completely over two or three sunny days.
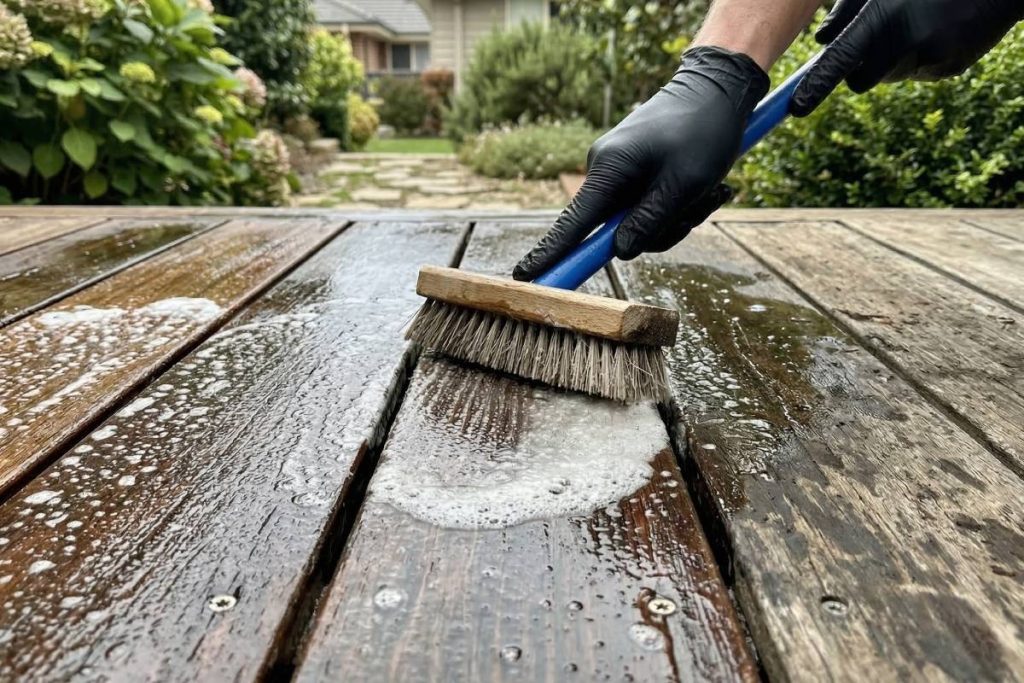
Phase 4: Sanding the Decking Boards
Once the timber is bone dry, you need to smooth out the raised wood fibres. Heavy washing and chemical treatments always leave the wood feeling slightly rough to the touch.
Unlike smooth indoor laminate flooring, raw outdoor timber requires mechanical sanding to prepare it for a new protective coating. A perfectly smooth surface ensures your final coating applies evenly and lasts significantly longer.
Choosing the Right Sandpaper Grit
Rent a specialised decking sander or a large random orbital sander for the main areas. Start with an 80 grit sandpaper to remove any stubborn stains and smooth out major imperfections.
Follow up with a finer 120 grit paper to polish the surface beautifully. Avoid going finer than 120 grit because overly smooth wood will absolutely not absorb oil properly.
Managing Edges and Dust Collection
Sanding the edges and tight corners requires a completely different approach. A large floor sander cannot reach right up to the exterior walls of your house.
Use a small handheld detail sander for the perimeter of your entertainment area. This ensures uniform smoothness across the entire outdoor space.
Always wear a high-quality dust mask during this phase. Sanding treated timber produces fine particulate matter that is dangerous to inhale into your lungs.
Vacuum the entire deck meticulously once you finish all your sanding. Any remaining dust will ruin the final finish and create a gritty texture.
Phase 5: Applying the Protective Finish
You are now finally ready for the most rewarding part of the entire project. Applying the final finish will protect the timber from harsh UV weather damage and effectively repel rainwater.
Deck Oil vs Stain Comparison
Choosing the right coating depends entirely on your aesthetic preference and maintenance tolerance. Here is a clear breakdown of your two main options.
| Feature | Penetrating Deck Oil | Timber Deck Stain |
| Appearance | Enhances natural grain and colour | Alters colour and hides imperfections |
| Penetration | Soaks deeply into the wood fibres | Sits much closer to the surface |
| Maintenance | Requires frequent light reapplication | Lasts longer between heavy coats |
| Preparation | Easy to clean before recoating | Requires heavy sanding to remove completely |
| Best For | Premium woods like Merbau or Spotted Gum | Older or heavily mismatched timber boards |
The Application Process
Check the local weather forecast closely before you begin opening tins. You need at least two continuous days of dry weather without extreme heat or direct midday sun.
Stir your chosen product thoroughly from the bottom up. Use a quality lambswool decking applicator pad to apply the oil or stain along the entire length of the boards.
Work systematically in small sections of three or four boards at a time. This specific method prevents overlapping marks and ensures a perfectly even coating.
Cutting In and Curing
Use a high-quality natural bristle brush to carefully cut in around the edges of the deck. A smaller brush is absolutely perfect for reaching tight corners and getting close to brickwork.
Do not apply the liquid product too thickly. The raw timber can only absorb a certain specific amount of liquid at one time.
Wipe away any excess pooling oil with a clean lint-free rag after twenty minutes. Allow the first coat to dry exactly according to the product instructions before applying a second coat.
Keep all foot traffic and pets off the deck for at least forty-eight hours. This critical curing period allows the fresh finish to harden and bond tightly with the timber.

Maintaining Your Newly Restored Deck
Your hard work and careful preparation have finally paid off. You now have a beautiful outdoor space completely ready for summer entertaining and family barbecues.
Proper ongoing maintenance is the real secret to making this stunning finish last. A little regular effort prevents the expensive need for another full restoration next year.
Regular Cleaning Schedule
Sweep your deck thoroughly every single week to remove abrasive dirt and fallen leaves. Leaves left to rot on the surface will permanently stain the timber and promote slippery mould growth.
Wash the surface every few months using a mild, specialised deck wash and a soft broom. This simple routine easily removes dirt buildup and keeps the protective finish looking completely fresh.
Knowing When to Recoat
Keep a close eye on exactly how rainwater behaves on the timber surface. If the water beads up heavily and sits on top, your protective layer is still working incredibly well.
If water immediately soaks down into the wood, it is definitely time for a quick maintenance coat. Simply wash the deck and apply one fresh coat of your chosen oil to restore full weather protection.
Conclusion
Restoring a weathered deck is a highly rewarding DIY project that significantly boosts the value and visual appeal of your home. By taking the time to properly strip, clean, brighten, and sand your timber, you create the perfect foundation for a beautifully long lasting finish.
The harsh Australian climate demands high quality products and careful, systematic preparation. Following this deck restoration step by step process guarantees professional results without paying the premium tradesman price tag.
Now that you know the exact chemical processes and expert application techniques required, what colour are you planning to stain your outdoor entertaining area?


